Sheet Metal Bend Radius Rules for Prototype Enclosures
When bending sheet metal for enclosures, match the radius to material ductility.
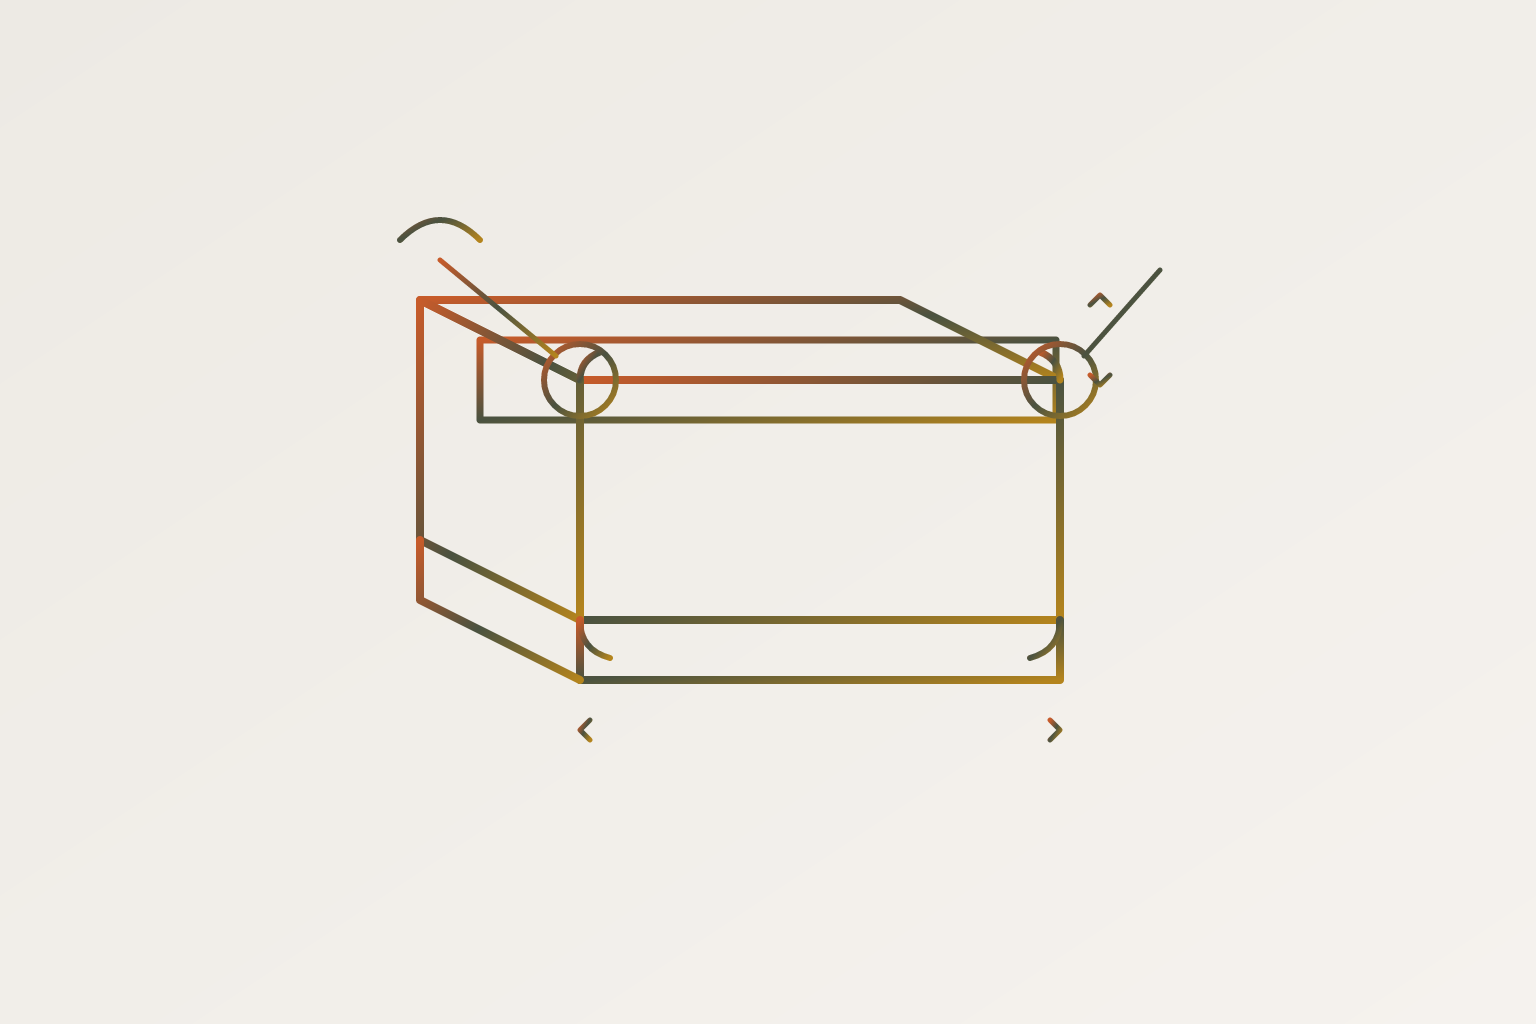
Inside bend radius is the radius of the inner arc formed when you bend the sheet, as distinct from the outside surface or the neutral axis running through the middle. It's the number that goes on the drawing, and it's the number a shop uses to pick tooling.
The standard rule for prototype sheet metal enclosures is to set the inside bend radius equal to material thickness, a ratio the industry calls 1T. It matches the tooling already on most press brakes, so no special die is needed, and it keeps ductile alloys like 5052-H32 aluminum, 304 stainless, and cold-rolled steel within their elongation limits during forming. The rule breaks down in four predictable situations: harder tempers, alloys with lower ductility (6061-T6 and 7075-T6 require at least 3T), bends running parallel to the material's rolling grain direction, and stock thickness above roughly 3 mm, where the radius needs to scale up along with the thickness.
The default rule for most prototype work: set the inside bend radius equal to material thickness. Engineers call this the 1T rule, and it works for most enclosure designs in common materials. It matches standard press brake tooling, so the shop doesn't need to source a special die or add cost to the quote. It also strikes a workable balance between how the part looks, how strong it is, and how easily it forms.
Here's why 1T holds up: when you bend metal, the outer surface stretches while the inner surface compresses. At a 1T radius, a ductile alloy stretches within its elongation limit, so it doesn't crack. Push the radius tighter than that and you're asking the material to stretch further than it can handle.
The rule breaks down in a few predictable spots. Harder tempers, alloys with lower ductility, and bends running parallel to the material's grain direction all need a bigger radius than 1T. Thickness matters too: once you get above roughly 3 mm of stock, the 1T rule starts losing accuracy, and the radius usually needs to scale up along with it.
Treat 1T as a floor. Material and grain direction tell you how much higher above that floor you actually need to go.
What are the minimum bend radii by material, and why does 6061-T6 cause so many first-article cracks?
Split enclosure materials into two practical groups. Ductile alloys, things like 5052-H32 aluminum, 304 stainless, cold-rolled steel, and galvanized steel, bend fine at an inside radius of 1T. Low-ductility alloys, namely 6061-T6 and 7075-T6, need at least 3T, and that's a requirement, not a suggestion.
The comparison that matters most for enclosure work is 5052-H32 against 6061-T6, and the wrong pick shows up more often than it should. 5052-H32 bends cleanly at tight radii, which is why it's the default choice across the industry for formed enclosures. 6061-T6 gets picked when a design needs a lot of machined features, since it cuts more cleanly than 5052 on a mill. But its ductility is lower, and calling out a 1T radius on 6061-T6 is the single most common way to end up with cracked parts on your first-article run. Move to 3T and the cracking goes away. The dimensional shift on a typical flange is small enough that most enclosure layouts absorb it without touching the rest of the design.
Stainless steel adds its own wrinkle. It work-hardens as you bend it, which lowers ductility right at the bend zone, and repeated forming operations at a tight radius raise the odds of cracking with every additional hit.
Here's the trap that catches people off guard: someone builds a flat pattern using mild-steel defaults, then assigns the part to 6061-T6 stock without recalculating bend allowance. Every single bend on that part comes out with the wrong flange length, not just the tight ones. Material choice and bend radius get locked in together, before the flat pattern gets built. Do it after, and you're rebuilding the whole thing.
How grain direction shifts the minimum radius in practice
Sheet metal carries a rolling grain direction from how it was made, and that grain affects how the metal behaves at a bend. Bend parallel to the grain and the outer surface is more likely to crack. Bend across it, and the material handles the same radius with more room to spare.
For critical bends in harder alloys, orient the bend perpendicular to grain direction and you can often hold a tighter radius than the material would otherwise allow. On prototype work, this sits entirely in your control, since you're the one laying out the nest.
Two habits follow from this, and both save real money. Use one consistent bend radius across the whole part so the shop can form it with a single die setup instead of swapping tools mid-run. And where crack risk is a real concern, rotate the flat pattern so the bend lines run across the grain rather than along it.
This is a CAD decision. It needs to happen while you're laying out the flat pattern, ideally well before the quote comes back from the shop.
Springback: the process variable that changes the actual bend angle your part holds
Springback is the elastic recovery that happens the instant a press brake releases the part: the bend angle opens up slightly beyond where the tooling left it. It's a predictable consequence of how metal behaves, one that shops compensate for as a matter of routine.
CNC press brakes handle this by overbending. The brake pushes the part past the target angle, knowing the material will spring back to the intended angle once it's released.
How much overbend a part needs depends on the material. It scales up with yield strength and down with elastic modulus, so stainless steel and other high-strength alloys spring back more than mild steel or annealed aluminum does. Air-bend a piece of SS304 to a standard radius-to-thickness ratio and the brake needs to push several degrees past 90° for the part to relax back to true 90° once it's released.
For angle tolerance in standard air bending, plan around roughly ±1°. That's the achievable standard, not a worst case. If your application needs tighter than that, you're looking at bottoming or coining instead of air bending, and both demand far more tonnage from the press. For enclosure design, this ±1° band is the number to design around. If a lid needs to seat flush or two panels need to meet square, design against the tolerance the process actually delivers rather than a theoretical 90.0°.
K-factor and bend allowance: how a wrong assumption turns into the wrong blank size
K-factor locates the neutral axis, the layer inside the material thickness that neither stretches nor compresses during the bend, expressed as a ratio of its position to the total thickness. Bend allowance is the arc length that bend consumes out of the flat blank, and it's what determines how long your flat pattern needs to be. Get one of these numbers wrong and the blank comes out the wrong size before the part is even bent.
K-factor moves with forming method and with the radius-to-thickness ratio:
- At R/T below 1 (tight radius, air forming, soft mild steel), K sits below mid-thickness, around 0.42 as a starting point.
- Between R/T of 1 and 3, K rises slightly to around 0.44.
- Above R/T of 3, the neutral axis moves back toward the middle and K approaches 0.50.
These are starting values. Confirm them against a real bend test on your actual tooling and material batch before you commit a design to them.
On a complex enclosure with a lot of bends, a K-factor that's slightly off adds a small error at every single bend. Individually those errors look trivial, but add them up across a full part and you get a blank-length error large enough to produce a chronic out-of-tolerance condition, one that often doesn't surface until final inspection, long after the part's already been cut and formed.
The 6061-T6 flat-pattern trap shows up here again. Because that alloy needs a 3T radius instead of 1T, its bend allowance and bend deduction values run noticeably larger than mild-steel defaults. Copy a mild-steel flat pattern into a 6061-T6 design without redoing the math, and every bend on the part comes out wrong. Stainless steel carries a similar risk: its bend allowance shifts more with small changes in forming conditions than mild steel does, so assumptions carried over from a steel drawing routinely produce flanges that miss tolerance.
The associated DFM rules that bend radius affects: flanges, holes, reliefs, hems, and offsets
Minimum flange height needs to be at least twice the material thickness plus the inside bend radius. Go shorter than that and the flange can't span the V-die, which makes the bend physically impossible on standard tooling. Flange length has its own floor too: at least four times material thickness in practice.
Hole-to-bend clearance follows the same logic. The minimum distance from a hole edge to the bend line should equal the inside radius plus material thickness. The zone right around a bend is actively stretching during forming, and any hole that overlaps it distorts into an oval, which then throws off fastener alignment. A safe rule of thumb: keep holes at least two and a half times material thickness away from the bend line.
Hole-to-edge clearance runs at least one and a half to two times material thickness from the hole edge to the part edge, depending on whether the hole is punched or laser-cut.
Bend reliefs matter more than people give them credit for. Any bend that doesn't run all the way to the part's edge needs a relief cut at each end, or the material tears or bulges right where the bend line terminates.
Hems carry their own set of minimums. Inside diameter should equal material thickness, hem return length needs to be at least six times material thickness, and the gap between the inside edge of the preceding bend and the outside of the hem should be at least five times material thickness, plus the bend radius, plus the hem radius.
Z-bends, also called offsets, need a minimum offset height of at least two and a half times sheet thickness, just to keep enough tool clearance and hold structural integrity.
One more thing worth flagging: ventilation panels. Mass-punching a wide area of thin stock strips out enough material to cause serious warping across the panel. Use localized perforation patterns instead, or bump up to thicker stock if the vent area has to stay large.
Tolerances, finishing allowances, and where standard sheet metal accuracy actually lands
Standard sheet metal work follows ISO 2768-m: linear dimensions land within roughly ±0.5 mm for short features up to 30 mm, opening up to around ±0.8 mm for features up to 120 mm, with angular tolerances around ±1°.
Laser-cut features hold tighter tolerances than formed ones. A punched or laser-cut hole is more precise than the flange sitting next to it. If a feature genuinely needs tighter control than forming can deliver, plan for secondary CNC machining after forming, and build that into the design up front, not as a fix tacked on later.
Surface finish adds real thickness, and it's easy to forget until assembly. Powder coating puts a layer on every surface, so a tight-fitting U-channel or hinge designed to nominal dimensions can bind once it's coated, if that clearance wasn't accounted for in the model. Type II anodizing adds a thin layer; Type III hardcoat anodizing adds more. Both matter on any fit that's already tight. State on the drawing whether your dimensions apply before or after finish. Leave that ambiguous and you get assembly failures that look like machining mistakes but are actually a coating problem.
Panel alignment has its own bar to clear. Flush-mounted panels should stay coplanar within roughly a millimeter for every 600 mm of panel span, and gap consistency across a panel joint should hold within a small fraction of the nominal gap.
None of this lives on the drawing alone. Press brake condition, die wear, material hardness variation, and operator technique all factor in. Putting a K-factor on paper doesn't guarantee the flange lands where you drew it.
Choosing the right material for a prototype enclosure when bend radius is part of the decision
5052-H32 aluminum is the default for formed sheet metal enclosures, and for good reason. It bends cleanly at 1T without cracking, and it sheds heat well, which matters a lot for electronics housings. If your design leans heavily on machined features, 6061-T6 is worth considering since it machines more cleanly. Just remember it needs a 3T bend radius, and every flat pattern has to be recalculated around that, not borrowed from a 5052 design.
A common misstep: picking 6061-T6 for a mostly-formed enclosure because it's the "stronger" aluminum. Strength isn't the property that decides whether a bend cracks. Ductility is, and on that measure 6061-T6 loses to 5052-H32 every time. If your enclosure is mostly bent sheet with only a handful of machined cutouts, keep 5052 and machine the cutouts anyway. Save 6061-T6 for parts that are dominated by machined features from the start, not parts where a few holes tempted you into the wrong alloy.
Cold-rolled steel gives you rigidity and strength at a lower cost than aluminum. It's a solid choice for indoor enclosures, server racks, and structural panels. The catch is corrosion: bare CRS rusts fast, so plan for powder coating from the start, or source pre-galvanized stock instead.
Stainless 304 earns its keep in medical enclosures, food equipment, and anything outdoors, thanks to corrosion resistance. But it work-hardens as it bends, so repeated forming near the same bend zone raises cracking risk. Springback runs higher than mild steel too, which means angle tolerances and bend allowance numbers pulled from a steel drawing need a second look before you reuse them.
The takeaway across all three: material selection and bend radius get decided together, in CAD, before the drawing ever reaches a fabricator.
What a DFM-ready enclosure drawing includes before it goes to fabrication
A drawing that's missing these details forces the shop to guess, and their guess won't always match what you had in mind.
Bend radius needs to be called out explicitly for every single bend on the drawing, not just the tight or critical ones, and it shouldn't be left to the shop to infer from material type alone. State the full material designation too: 5052-H32, specifying temper rather than a generic "aluminum" callout, since temper is what actually determines minimum radius and bend allowance. Get both of these right and most of the downstream problems in this article never happen in the first place.