Injection Molding DFM for Low-Volume Bridge Tooling
Plan bridge tool geometry to survive the jump to production molds.
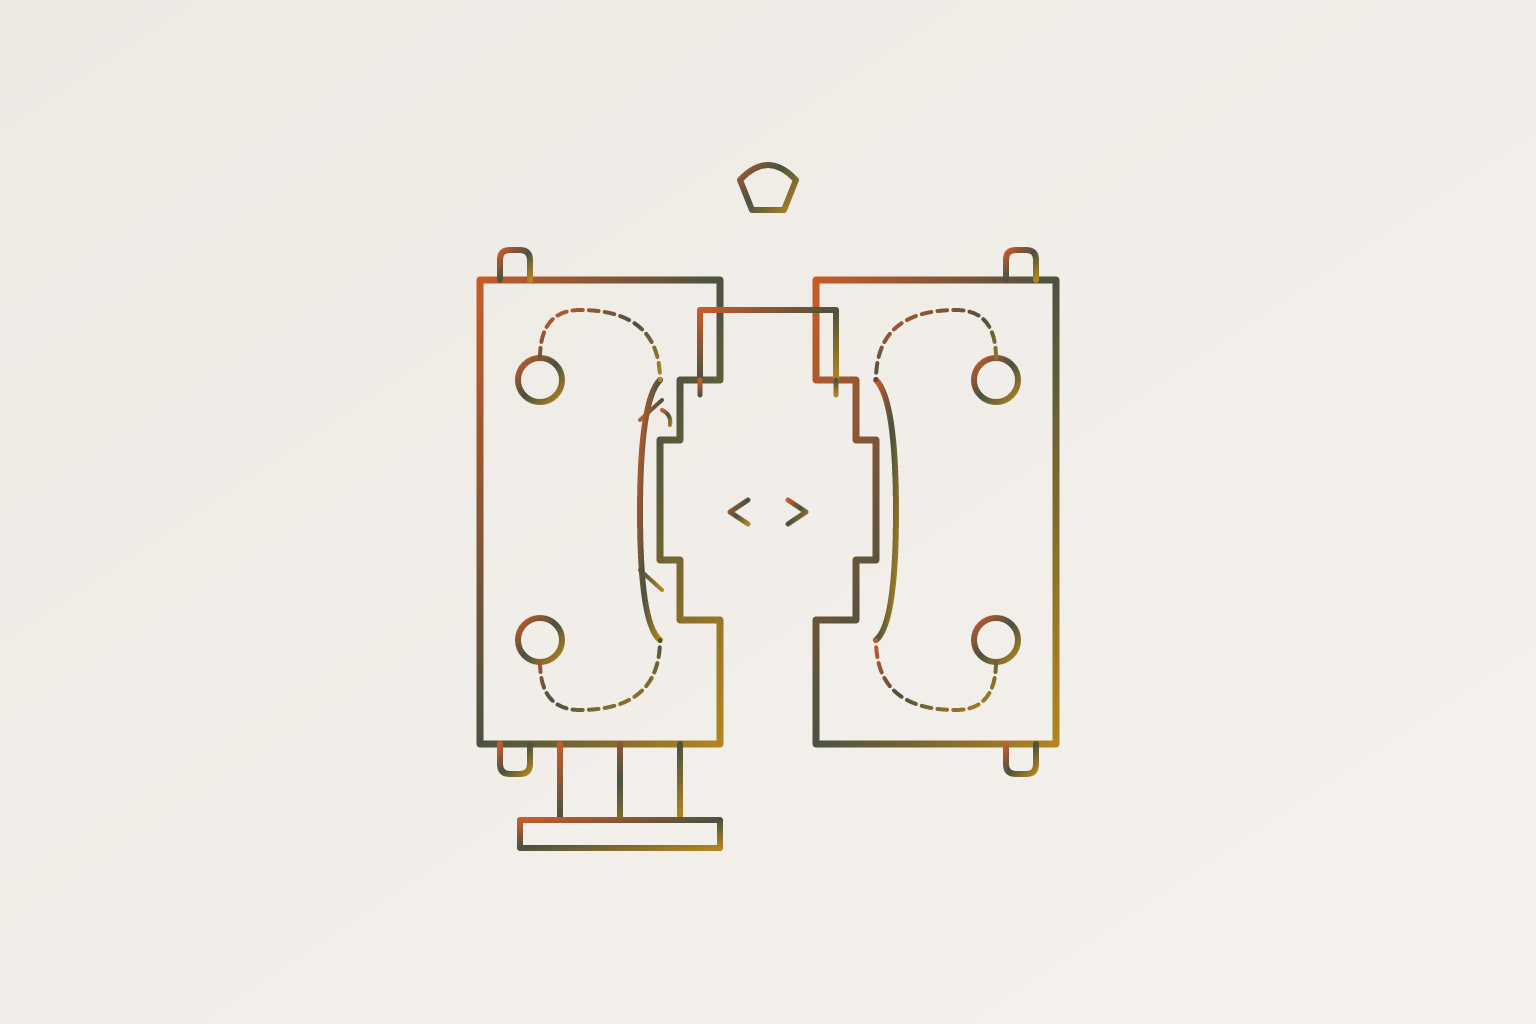
Bridge tooling has to do two jobs at once: make good parts right now, in real production resin, and leave a clean path to the hardened mold that comes after. Most teams only plan for the first job. Get the DFM wrong on a bridge tool and the mistakes don't stay put; they transfer straight to the production mold, permanently, with no easy way to undo them.
A bridge tool is usually aluminum or pre-hardened steel, built after prototyping but before anyone commits to a hardened production mold. It exists because production steel molds take 16 to 24 weeks to design, machine, and qualify, and most companies can't sit on their hands that long. Field trials need parts, regulatory submissions need parts, early customers need parts. A bridge tool gets you there in 4 to 10 weeks, at 30% to 50% less than an equivalent production tool, covering volumes from 100 to 10,000 parts (higher-grade aluminum or P20 stretches that range to 1,000 to 30,000).
Sitting between a prototype mold (2 to 6 weeks) and a full production mold (8 to 20-plus weeks), a bridge tool is really a bet: the parts it makes should teach you enough to lock the production design without redoing the whole process twice. Some programs run two or three bridge tool revisions before they cut steel for good, and they still come out ahead on time and total spend. That's the plan working as intended.
What makes bridge tool DFM different from standard injection molding DFM
Standard DFM asks one question: will this mold make good parts? Bridge tool DFM asks two: will this mold make good parts, and does the geometry survive the jump to production tooling?
That splits every decision into two piles. Wall thickness, draft angle, rib proportions, gate location: these carry forward. Change them later and you're changing the production part, not just the tool. Mold material, cooling circuit complexity, cavity count, and whether an undercut gets a slide or a manual insert are tooling choices. Those get upgraded the moment the production mold gets cut, no redesign required.
Here's where most bridge programs actually lose money: they blur that line without noticing. Treating a simplified cooling layout as a fine shortcut is correct; it is one. The mistake is treating the part geometry that layout was built around as fixed too, when it was only ever shaped to suit a cheap, fast tool. Aluminum and pre-hardened steel machine three to five times faster than hardened tool steel, which is exactly why bridge tools exist. But that speed only pays off if the part geometry underneath stays production-ready. Skip DFM on wall thickness or gate location to save a week now, and the bill comes due when the production mold gets designed around a part that was never quite right to begin with.
Everything below sorts into one of those two piles: load-bearing for the production path, or a safe, temporary trade-off.
Wall thickness as the decision that forecloses the most options
Wall thickness is the single most consequential rule in injection molding, mainly because it's the hardest one to fix once metal has been cut.
Practical minimums run around 0.8 to 1.0 mm for small parts, 1.5 mm for medium parts, 2.0 mm for larger ones. Most engineering thermoplastics want a nominal wall in the 1.5 to 3.0 mm range. Drop below the minimum and fill gets unreliable fast; short shots stop being a hypothetical and start being a Tuesday.
The bigger risk is uneven walls. A jump from 1.5 mm to 4 mm in the same part creates two zones that cool at different rates, and that mismatch is the root cause behind sink marks, warpage, and residual stress. Here's the part that matters for a bridge program: those defects show up on bridge parts, and they'll show up identically on production parts, because the geometry never changed. Wall thickness is one of the most common root causes behind part failure once volumes scale up, and it's almost always traceable back to a decision nobody revisited.
Teams sometimes let a little sink or warp slide on bridge parts because the run is small and the parts still work anyway. That's the wrong call. The tolerance gets inherited, and once the geometry locks for the production tool, that same sink mark stops being a minor cosmetic note; it's permanent. Treat wall thickness as fixed from the first CAD iteration, not something to revisit after bridge parts are already in hand. If a section needs to be thick, core it out or taper it down to a uniform shell before the bridge tool gets cut, not after someone points at the first article and asks what happened.
Draft angles and what the bridge tool's material demands of them
Draft is the small taper on vertical walls that lets a part release from the mold without dragging or scarring. Most surfaces want 1° to 3° per side. Add texture and that number climbs fast: roughly 1° of additional draft for every 0.025 mm of texture depth, and a heavily textured surface can need 5° or more.
Aluminum complicates this. Don't assume a draft angle that works on hardened H13 steel will work on the bridge tool. Aluminum is softer, and CNC tool access on aluminum tooling makes marginal draft angles, the 0.25° to 0.5° range, genuinely risky, even on geometry that would release cleanly from a hardened steel mold.
The instinct to add extra draft "just for the bridge tool" and dial it back for production sounds efficient. It isn't; it just means designing the part twice for no reason. Design to the production draft spec from the start. If the bridge tool molder flags that the geometry needs more clearance to release from aluminum, that's a DFM conversation to have with the molder, not a cue to go redesign the part.
Texture depth needs to get locked before the bridge tool is cut too, since draft requirements flow directly from it. Limited draft in the 0.25° to 0.5° range is sometimes workable, but it depends heavily on geometry and resin, and that's a judgment call for the molder, not something to assume from a CAD model.
Ribs, bosses, and the undercut question on a mold you plan to replace
Ribs should run about 40% to 60% of the adjacent wall's nominal thickness at the base. Go thicker and the rib pulls heat unevenly from the wall behind it, showing up as sink on the opposite face; it's the same differential-cooling problem as an abrupt wall transition, just relocated to a different feature. Bosses follow the same logic: drop a thick-walled boss onto a thin wall and there's a hot spot built in, one that cools slower than everything around it.
Undercuts are where bridge tooling forces a real decision. The wrong answer, and it's the one teams reach for constantly, is adding a slide because it's the fastest fix on the bridge tool, without asking whether the feature needs to exist at all. Side actions, slides and lifters, add cost and lead time to any mold, and on a bridge tool they're also a design commitment. Whatever the bridge tool does to release an undercut, the production tool will need to do too, or something even more complex.
So look hard for a way out first. Reorienting a feature, adding a through-hole, splitting a part into two pieces: any of these that kills the undercut beats accepting a slide, even a cheap one. If the undercut is genuinely load-bearing, something the part can't function without, accept the side action on the bridge tool with eyes open. The production mold is getting the same feature, possibly in a more automated and more expensive form.
Manual inserts are the one legitimate shortcut here. A bridge tool using a manual insert where the production mold will use an automated action is cutting a corner on tooling convenience, full stop. The part geometry doesn't change either way.
Run every questionable feature through one test: does fixing this require a design change, or just a tooling change? Design changes have to happen before the bridge tool is cut. Tooling changes can wait.
Gate location and cooling as the two decisions that most affect production tool planning
Gate location decides fill direction, where weld lines land, and where the gate vestige sits on the finished part. All three carry functional and cosmetic weight, so gate location needs to get locked before the part geometry is treated as final. It shouldn't get chosen as an afterthought once the bridge tool layout is already underway.
Bridge molds tend to run cold runners with a simple, single-gate setup. Fine, until that setup doesn't match how the production mold will actually gate the part. If the production tool moves to a hot runner with a different gate position, weld lines move with it. A weld line that sat somewhere harmless on the bridge part can land right on a structural feature once the gate location shifts for production. Gate vestige position runs into the same trap: whatever the bridge tool does becomes the de facto cosmetic spec unless someone deliberately decides otherwise.
Decide the production gate location first, then build the bridge tool around it. Doing it the other way around is backwards, and it's how weld lines end up in places nobody wanted them.
Cooling gets more slack, with one hard condition attached. Bridge tools commonly run simpler cooling circuits than production molds, and that's a fine shortcut, as long as the parts stay dimensionally stable enough to actually measure. One documented cooling redesign, adding a baffled circuit on the cavity side with a bubbler insert in the core, cut cycle time from 52 seconds to 31 seconds, a 40% drop, and brought warpage down from 1.8 mm to 0.3 mm by holding the temperature differential across the cavity to 4°C. That's what a production-grade cooling circuit buys you.
A bridge tool doesn't need that level of polish. It does need enough cooling control that dimensional data from bridge parts actually means something. If the bridge tool's cooling is so bare-bones that parts warp inconsistently, none of those measurements can validate tolerances for the production mold, and the whole run loses its point. Whatever gating strategy gets used, hot runner or cold, write it down at the bridge stage, so whoever designs the production mold knows exactly what's changing and why.
Material selection for the bridge tool and when to spend up on steel
Bridge tool material sits on a spectrum, and the right pick depends on what the tool actually has to do, not on habit or whatever the shop quoted fastest.
Aluminum machines three to five times faster than hardened steel and costs the least upfront, which makes it the default for lower volumes. The trade-off is tool life and dimensional stability: it wears faster and drifts more over a long run. P20 or another pre-hardened steel holds up better, suits larger bridge runs, and runs about 30% to 40% cheaper than H13 for an equivalent mold. It starts showing wear somewhere around 100,000 to 200,000 shots. H13 or S136, the steels used for production molds, are rated for 500,000-plus parts. They cost more going in, but they dodge a mid-production refurbishment that can run $15,000 to $80,000 and cost three to six weeks of downtime.
If the bridge tool is only there to generate samples, aluminum is the right call, and spending more on it is wasted money, plain and simple. If it's also covering early production volume while a multi-cavity production mold gets machined, P20 is usually worth the extra spend over aluminum. A single-cavity part of moderate complexity typically runs $5,000 to $25,000 in bridge tooling, against $15,000 to $75,000-plus for a hardened production mold.
That gap is what makes the parallel-path strategy work: build a single-cavity bridge tool while the multi-cavity production mold gets machined, and the bridge tool's cost stops being sunk money. It buys real production time instead of just samples.
Push toward P20 or harder sooner if the program sits on a regulatory or qualification timeline that demands a high shot count before the production tool gets approved, if tolerances are tight enough that aluminum's thermal drift introduces too much variability, or if the resin carries glass fiber or mineral filler that will chew through aluminum faster than the schedule can absorb.
The DFM review timing problem specific to bridge programs
Every DFM rule runs on the same math: catch the problem in CAD and it costs an hour of rework. Catch it after the tool is cut and it costs requalification, a new shipment of parts, and weeks. One rapid-prototyping molder's project data found that formal DFM sign-off adds one to three business days at the start of a program but cuts the total project timeline by an average of 12 days, by eliminating design changes mid-production.
Bridge programs are exactly the ones tempted to skip that step, and that instinct has it backwards. A bridge tool usually gets greenlit because the schedule is already tight, and a tight schedule creates real pressure to start cutting metal before DFM review wraps up. But the parts most likely to need that review, ones with complex geometry, aggressive tolerances, or features carrying real mechanical load, are usually the same parts that justified building a bridge tool in the first place. Skipping review on exactly those parts is the mistake, and it's the one bridge programs make most often.
DFM review typically trims tooling cost by 15% to 30%, mostly by cutting unnecessary undercuts, catching wall thickness problems before they become sink marks, and simplifying finishes that never needed to be complicated. Those savings apply twice on a bridge program: once to the bridge tool, and again to the production mold that inherits the same clean geometry.
A DFM review built for a bridge program has to cover ground a standard review skips entirely. It should spell out, feature by feature, what's locked for production and what's still open to change, so the molder isn't guessing at intent. It should nail down gate location for the production mold explicitly, not just for the tool sitting in front of them right now, and it should log every bridge-specific shortcut on the table: manual inserts, a simplified cooling layout, whatever it is, so those choices carry forward as documented trade-offs instead of quietly becoming permanent by accident.